
The Ultimate Chicken Enchilada Recipe: A Delicious and Flavorful Dish You’ll Love
Chicken enchiladas are a beloved staple in Mexican cuisine, offering a perfect combination of savory chicken, rich sauce, and gooey cheese all wrapped in soft tortillas. This dish is not only delicious but also highly versatile, making it a fantastic choice for family dinners, parties, or casual gatherings. In this blog post, we’ll walk you through the step-by-step process of preparing chicken enchiladas at home. Plus, we’ll share helpful tips to make sure your enchiladas come out perfect every time!
Whether you’re a seasoned cook or just starting in the kitchen, this recipe will guide you in creating flavorful chicken enchiladas that everyone will rave about.
Ingredients You’ll Need
Before we dive into the cooking process, let’s gather the ingredients. The list is simple, but the flavor it creates is outstanding. Here’s what you’ll need:
For the Chicken:
- 2 boneless, skinless chicken breasts
- 1 tablespoon olive oil
- Salt and pepper, to taste
- 1 teaspoon garlic powder
- 1 teaspoon chili powder
- 1 teaspoon ground cumin
- 1 teaspoon onion powder
For the Enchiladas:
- 10-12 corn tortillas
- 1 can (10 oz) red enchilada sauce (or use homemade sauce for a more authentic flavor)
- 1 cup shredded cheddar cheese
- 1 cup shredded mozzarella cheese
- 1 can (4 oz) diced green chilies (optional for a slight heat)
- 1/2 cup chopped onion (optional for added flavor)
- Cilantro, for garnish
- Sour cream (optional, for serving)
Step-by-Step Chicken Enchilada Recipe
Now that you have all the ingredients, let’s begin preparing your delicious chicken enchiladas. Follow these steps for a perfect dish.
Step 1: Cook the Chicken
Start by preparing the chicken breasts. To do this, season them generously with salt, pepper, garlic powder, chili powder, cumin, and onion powder.
Heat a large skillet over medium-high heat and add olive oil. Once the oil is hot, place the chicken breasts in the skillet and cook for about 5-7 minutes per side or until golden brown and cooked through. Once the chicken is cooked, remove it from the skillet and let it rest for a few minutes.
Shred the chicken using two forks, pulling the meat apart into small pieces. Set it aside to be used in the enchiladas.
Step 2: Prepare the Enchilada Sauce
While the chicken is cooking, you can make your enchilada sauce. If you’re using store-bought red enchilada sauce, heat it in a saucepan over medium heat and add diced green chilies for extra flavor. If you want to make a homemade sauce, combine tomato sauce, chili powder, cumin, garlic, and a bit of salt and pepper in a saucepan, and simmer for 10-15 minutes to let the flavors develop.
Step 3: Warm the Tortillas
For soft and pliable tortillas, warm the corn tortillas in a dry skillet over medium heat for about 20 seconds per side. This will prevent them from cracking and make them easier to roll. If you have a large number of tortillas to warm, you can also wrap them in a damp paper towel and microwave them for 30 seconds to a minute until warm.
Step 4: Assemble the Enchiladas
Now comes the fun part—assembling your chicken enchiladas!
- Preheat your oven to 375°F (190°C).
- Spread a thin layer of the prepared enchilada sauce on the bottom of a baking dish to prevent sticking.
- Next, take a tortilla and spoon a generous portion of the shredded chicken onto the center of the tortilla. Add a small spoonful of chopped onions, if desired, and then sprinkle some shredded cheddar and mozzarella cheese on top.
- Roll the tortilla tightly and place it seam-side down into the baking dish.
- Repeat this process with the remaining tortillas, placing them side by side in the baking dish.
Once all the tortillas are rolled and placed in the baking dish, pour the remaining enchilada sauce over the top, ensuring each tortilla is covered. Top it with the remaining shredded cheese.
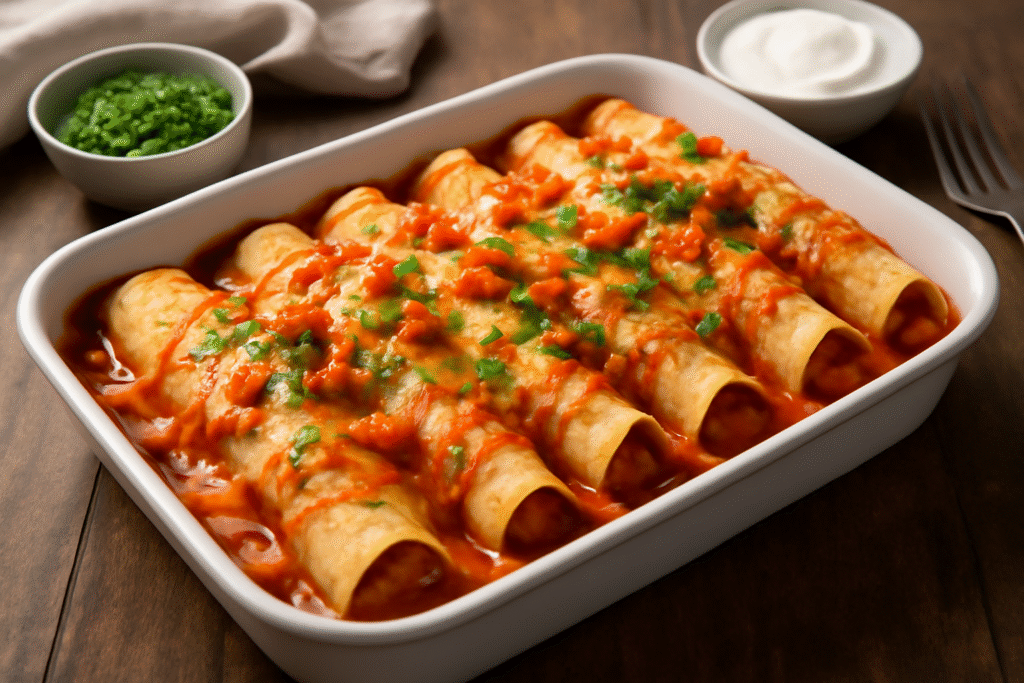
Step 5: Bake the Enchiladas
Cover the baking dish with aluminum foil and bake for 20 minutes. After 20 minutes, remove the foil and continue baking for another 5-10 minutes, or until the cheese is melted and bubbly, and the enchiladas are heated through.
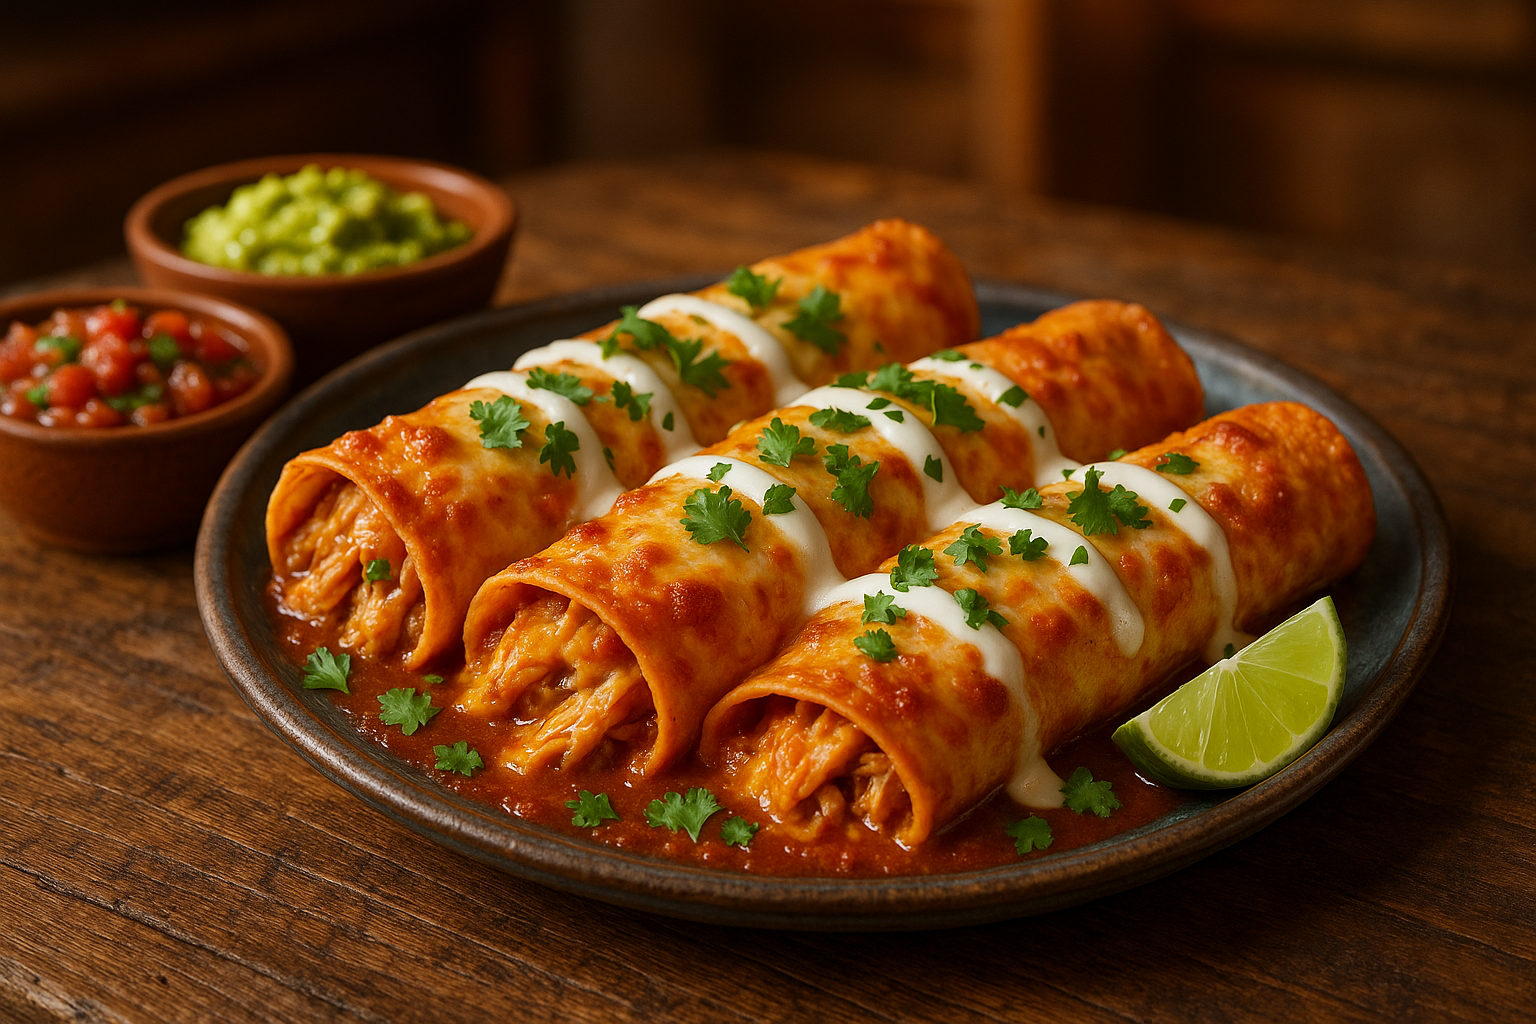
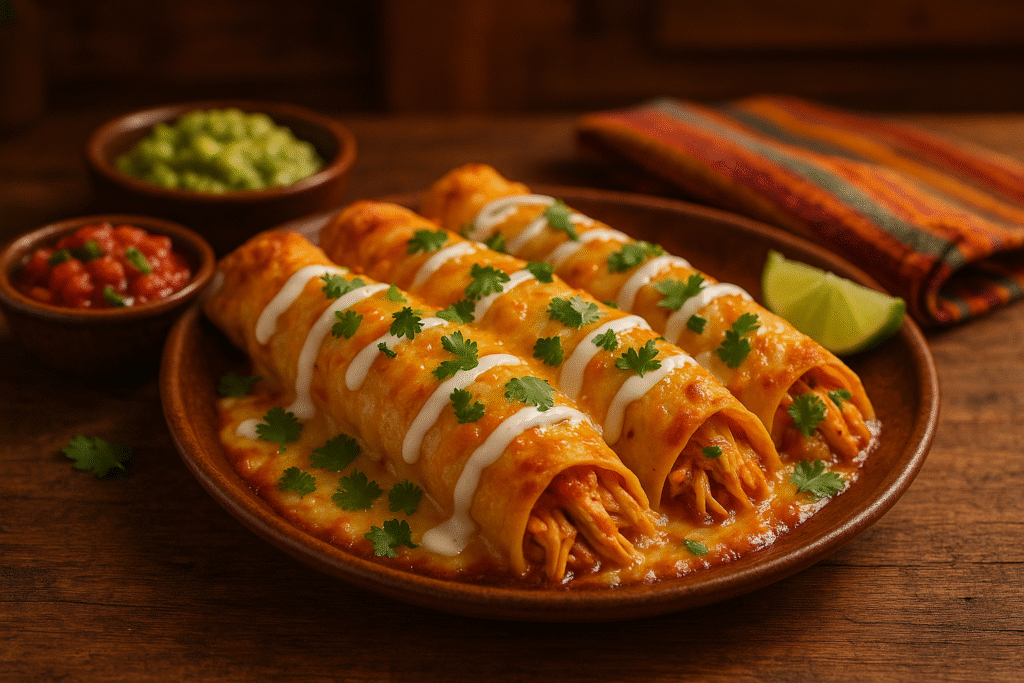
Step 6: Garnish and Serve
Once the enchiladas are out of the oven, let them rest for a few minutes before serving. This allows the sauce to settle and makes them easier to serve. Garnish with fresh cilantro and a dollop of sour cream, if desired.
Tips for Perfect Chicken Enchiladas Every Time
While this recipe is simple, a few tips can help elevate your chicken enchiladas to a whole new level.
1. Use Corn Tortillas for Authentic Flavor
Corn tortillas are the traditional choice for enchiladas and provide an authentic texture and flavor. They absorb the sauce better and hold their shape when baked. If you prefer flour tortillas, feel free to substitute, but keep in mind that they may not have the same traditional flavor.
2. Customize the Filling
This chicken enchilada recipe can be customized with other ingredients. Try adding black beans, corn, or diced bell peppers for extra flavor and texture. You can even swap the chicken for shredded beef or pork if you prefer a different protein.
3. Make It Spicy
If you like heat, consider adding jalapeños or a spicier enchilada sauce. You can also sprinkle some chili flakes on top before baking to bring more heat to your dish.
4. Homemade Enchilada Sauce
If you want a truly authentic experience, make your own enchilada sauce. Homemade sauce allows you to control the heat level and flavor profile. It’s incredibly easy to make and will take your enchiladas to the next level.
5. Meal Prep-Friendly
Chicken enchiladas are perfect for meal prep. You can prepare the dish ahead of time, store it in the fridge, and bake it the next day when you’re ready to eat. This makes it an ideal dish for busy weeknights.
Nutritional Information: Chicken Enchiladas
Chicken enchiladas are a hearty and filling meal that provides a good balance of protein, fiber, and healthy fats. While they can be indulgent, you can also make some adjustments to lighten them up. Here’s a rough breakdown of what you can expect in each serving:
- Calories: Around 350-450 per serving (depending on the amount of cheese and sauce used)
- Protein: 25-30 grams (thanks to the chicken)
- Carbohydrates: 35-40 grams
- Fat: 15-20 grams (mostly from cheese and olive oil)
For a healthier version, try using low-fat cheese, whole-wheat tortillas, and lean chicken breasts. You can also load up on veggies like spinach, zucchini, or bell peppers to increase the nutritional value.
FAQs About Chicken Enchiladas
Here are some frequently asked questions about chicken enchiladas that might help you as you prepare this delicious dish.
1. Can I make enchiladas ahead of time?
Yes! You can assemble the enchiladas and store them in the fridge overnight. When ready to bake, just preheat the oven and bake as usual. This is great for meal prepping or making ahead for guests.
2. Can I freeze chicken enchiladas?
Absolutely! Chicken enchiladas freeze very well. Once assembled, wrap them tightly in foil and store them in an airtight container. They can be frozen for up to 3 months. To cook, thaw in the fridge overnight and bake as usual.
3. Can I use flour tortillas instead of corn tortillas?
Yes, you can use flour tortillas if you prefer, though corn tortillas are traditional and provide a better texture for enchiladas.
4. How can I make the enchiladas spicier?
To add more heat, try using a spicier enchilada sauce, adding diced jalapeños or chipotle peppers, or sprinkling red pepper flakes on top before baking.
Final Thoughts
This chicken enchilada recipe is a tried-and-true favorite that’s sure to impress your family and friends. With a perfect blend of savory chicken, rich sauce, and melted cheese, it’s a dish that’s perfect for any occasion. Whether you’re cooking for a crowd or simply looking for a delicious weeknight meal, this recipe is simple, flavorful, and guaranteed to please.
Give this recipe a try, and don’t forget to share your creation on social media! If you found this blog helpful, be sure to check out more recipes and tips on our site. Happy cooking!